Settings
Manage your merchant profile, team members, branding, notifications, billing, and security in one place.
Overview
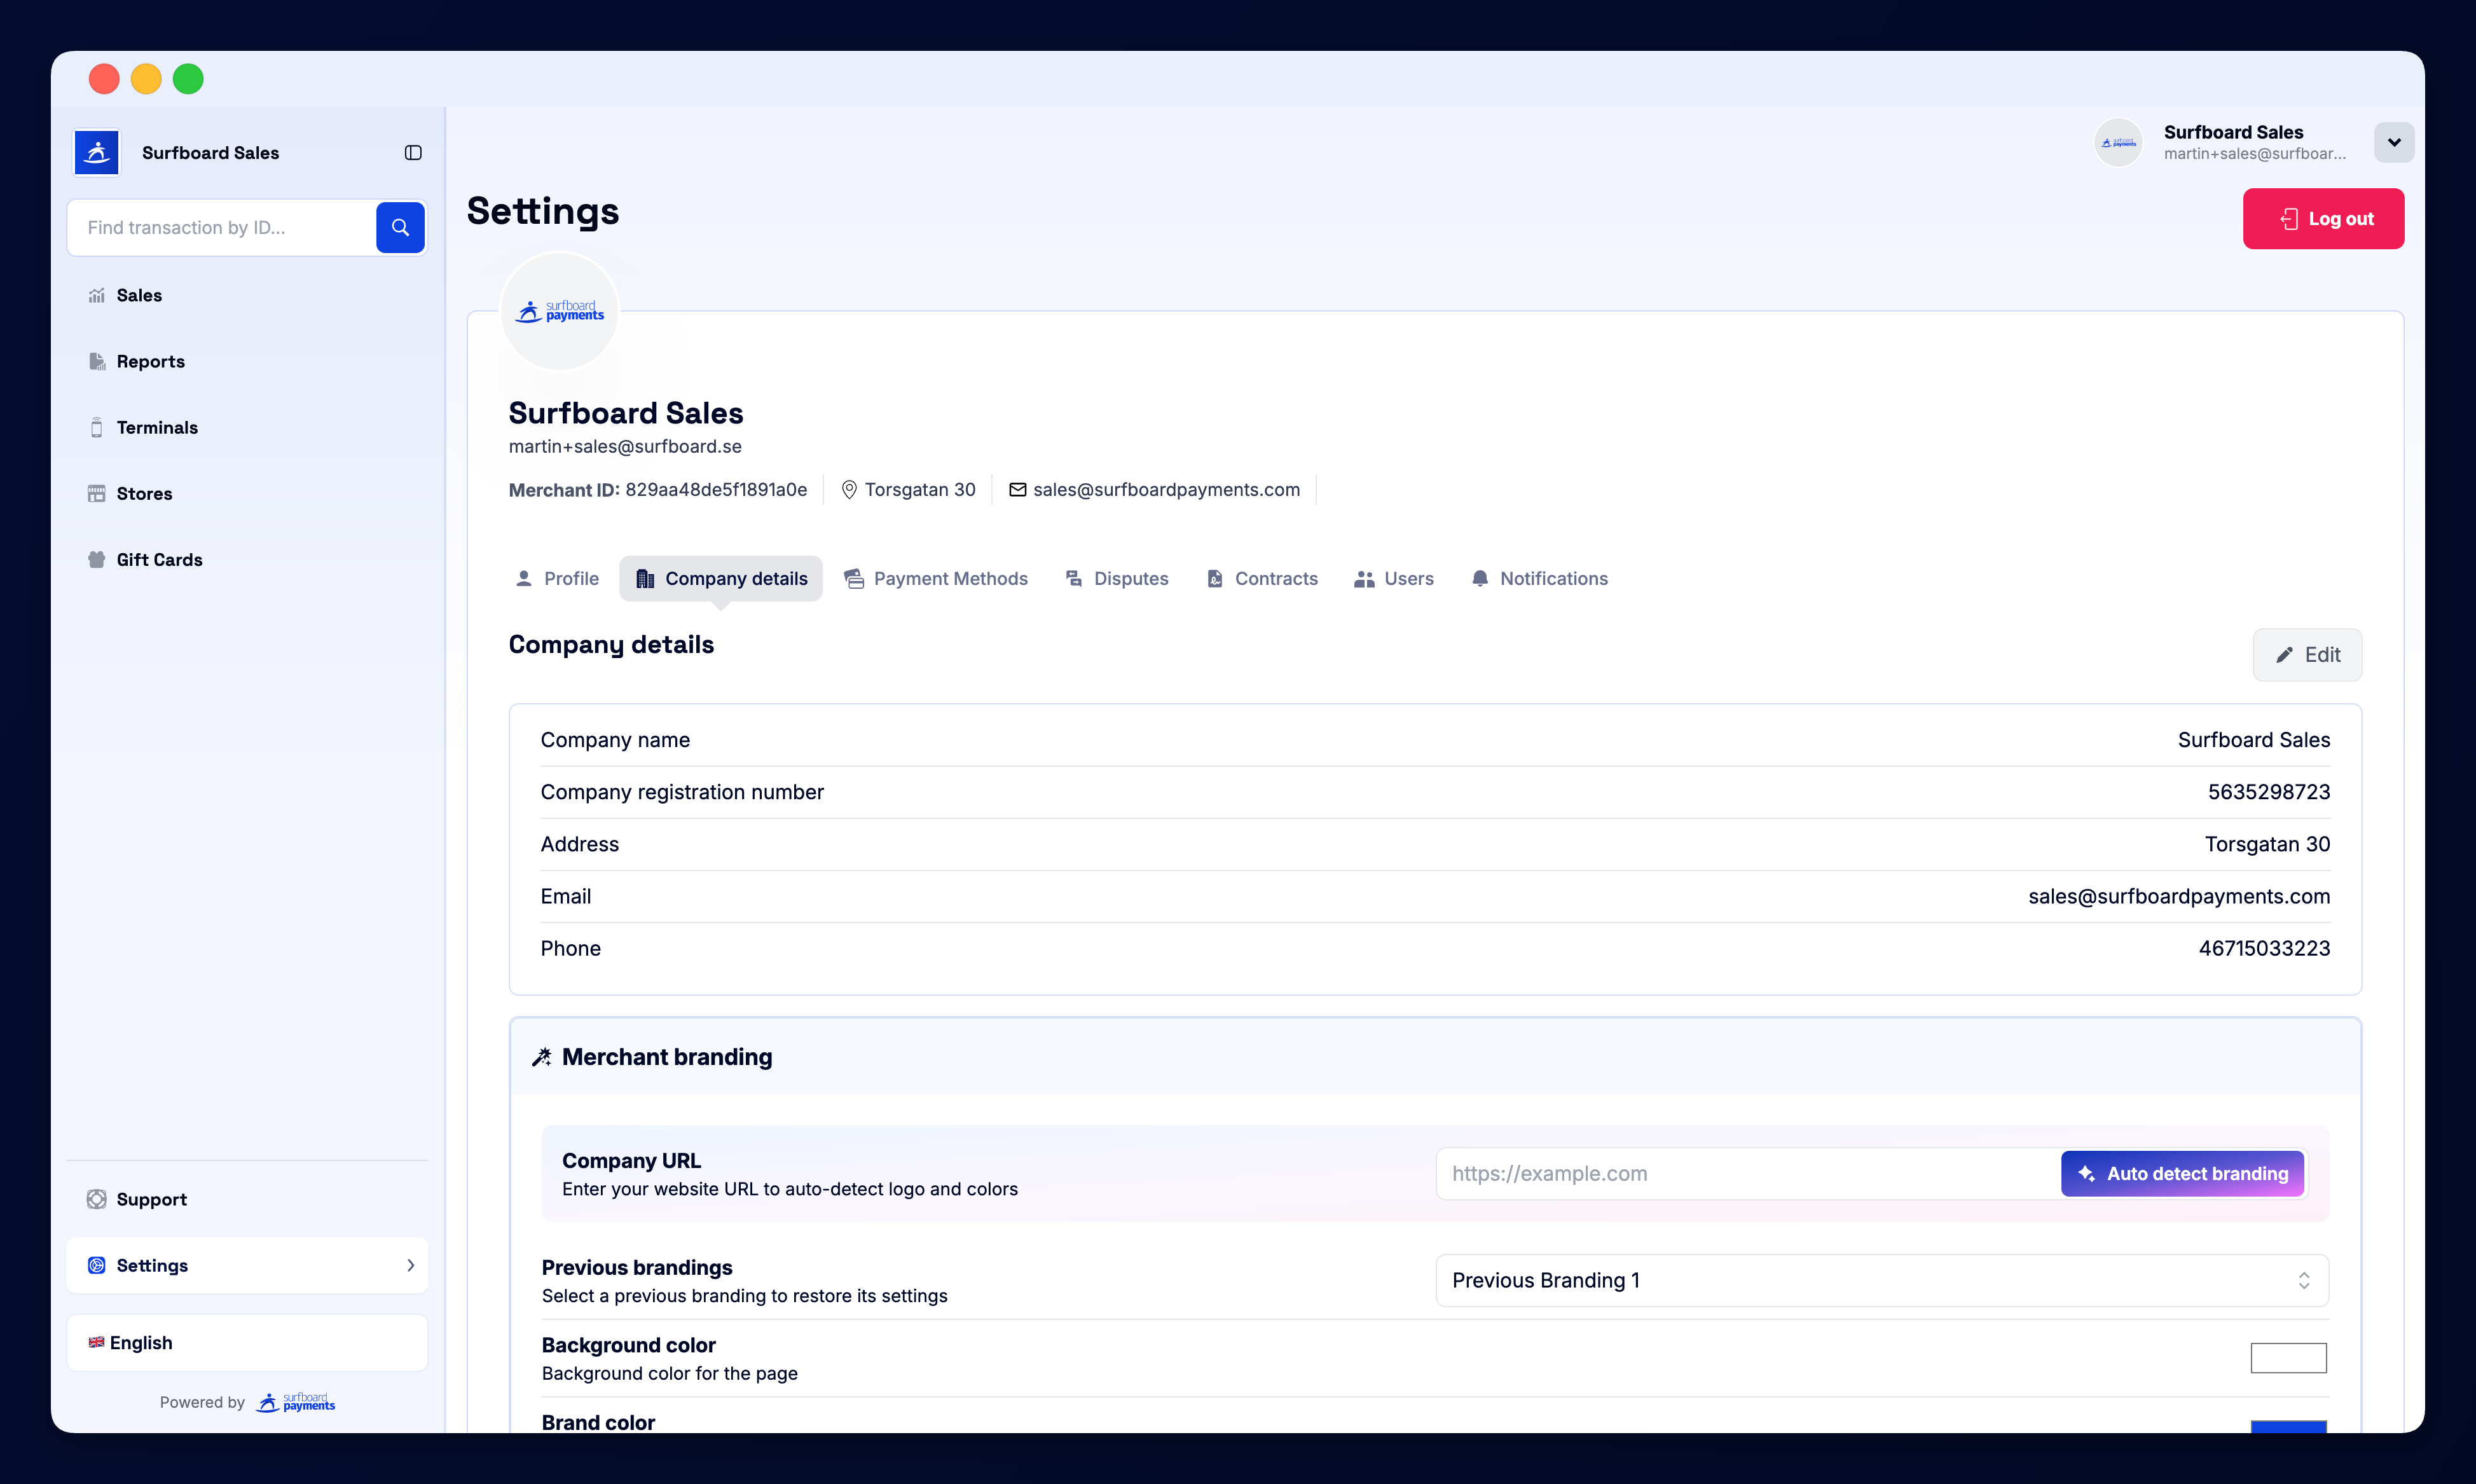
The Settings page is your account control centre — everything from your personal profile to merchant-wide branding lives here. The page uses tabs to keep things organised.
Profile
The first tab shows your user profile, with editable fields for:
- First name and last name
- Phone number
- Preferred language — English, Svenska, Dansk, Suomi, Norsk
- Profile photo
Below your personal details, you’ll see the merchant profile — legal name, address, business registration number, contact email, and merchant logo. These details flow through to receipts, invoices, and the customer-facing checkout page.
Team
The Team tab lets you invite colleagues to the portal:
- Invite by email — they receive a sign-up link
- User level — choose Admin or User. See User Levels for the full breakdown of what each one can do.
- Per-store access — limit users to specific stores
- Active sessions — see who’s logged in and revoke access if needed
Branding
The Branding tab applies merchant-wide visual identity:
- Brand colour, accent colour, background colour
- Font — sans, serif, or mono
- Logo and icon
- Button shape — rounded, edgy, or pill
These settings power your branded checkout page, hosted payment links, terminal screens, and any white-labeled portal experience for your customers.
Tip: per-store branding overrides live in Stores → [store] → Branding.
Notifications
Set up alerts for key events:
- Email — transaction notifications, settlement reports, application updates
- Slack — daily summaries posted to a channel
- Webhooks — push events to your own backend
Toggle each notification type on or off and choose recipients per type.
Billing & Payment Methods
Manage the cards on file used for paid add-ons (Loyalty, premium integrations, hardware orders). Add a card, set the default, or remove old ones.
Security
- Change password
- Two-factor authentication — enable 2FA via authenticator app
- API keys — generate, rotate, and revoke keys used by your custom integrations
- Audit log — a record of important changes made to the account
Logout
A red Logout button in the top-right ends your session and returns you to the login page. Use it whenever you’re stepping away from a shared computer.
Why It Matters
Most of these settings are “set once and forget” — but they shape every customer-facing surface (receipts, checkout, terminal screens) and every notification you receive. Spending 10 minutes here at setup pays dividends every day after.